Knowing if you can sand carbon fiber correctly is the difference between a profitable repair and a costly replacement. Sanding just fractions of a millimeter too deep can burn through the protective finish, compromise the weave, and turn a simple refinishing job into a complete financial loss.
This guide outlines the correct wet-sanding procedure for parts with a substantial UV clear coat. We detail the exact sandpaper you need for each step. We also highlight the crucial visual checkpoints to watch for. This ensures a safe, factory-quality repair. Most importantly, the underlying carbon weave stays completely untouched.
⚠️ Safety Warning: Always wear a P100 respirator mask, safety goggles, and gloves when sanding composite materials. Work in a well-ventilated area and exclusively use the wet-sanding method to control harmful carbon fiber dust.
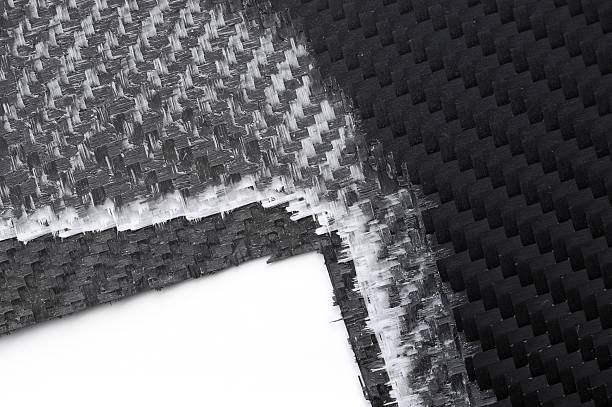
Structure of a Carbon Fiber Part
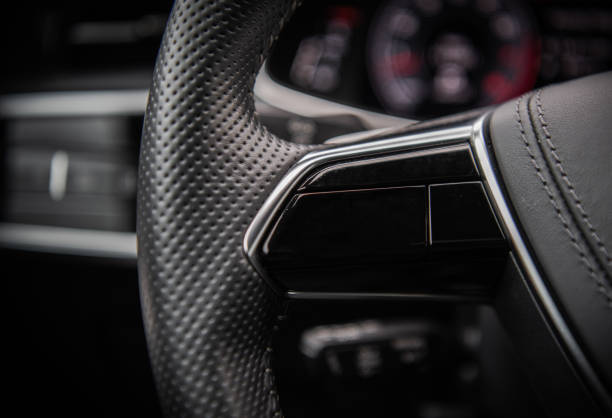
A carbon fiber part is a composite. Carbon fibers provide strength, epoxy resin binds them, and a high-gloss clear coat protects the surface from UV damage and oxidation.
Understanding a carbon fiber part means looking at its layers. It isn’t a single material but a composite system where each component has a specific job. The strength comes from the fibers, the shape from the resin, and the durability from the finish.
The Three Core Layers of a Composite Part
Every standard carbon fiber product is built from three fundamental components that work together:
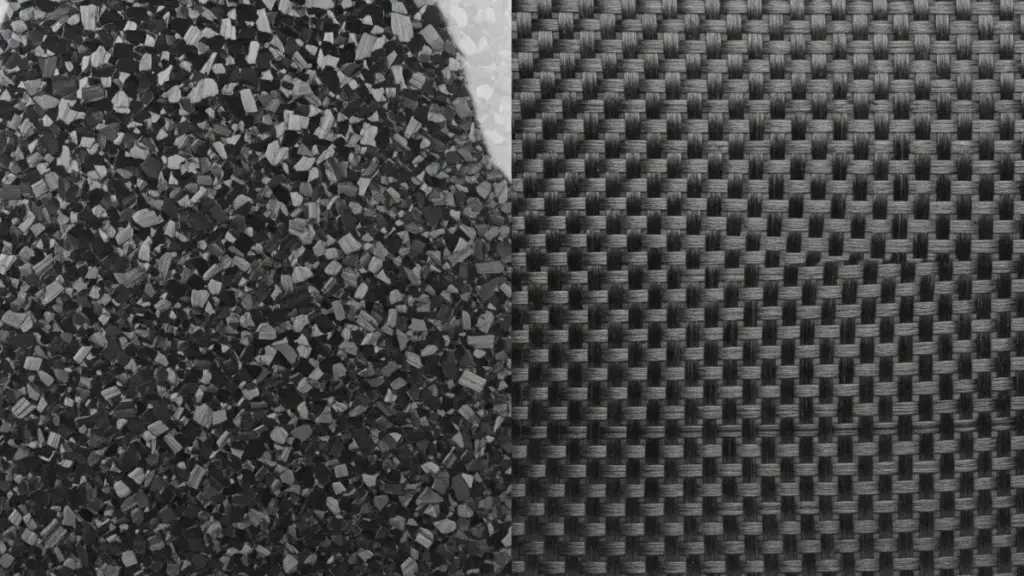
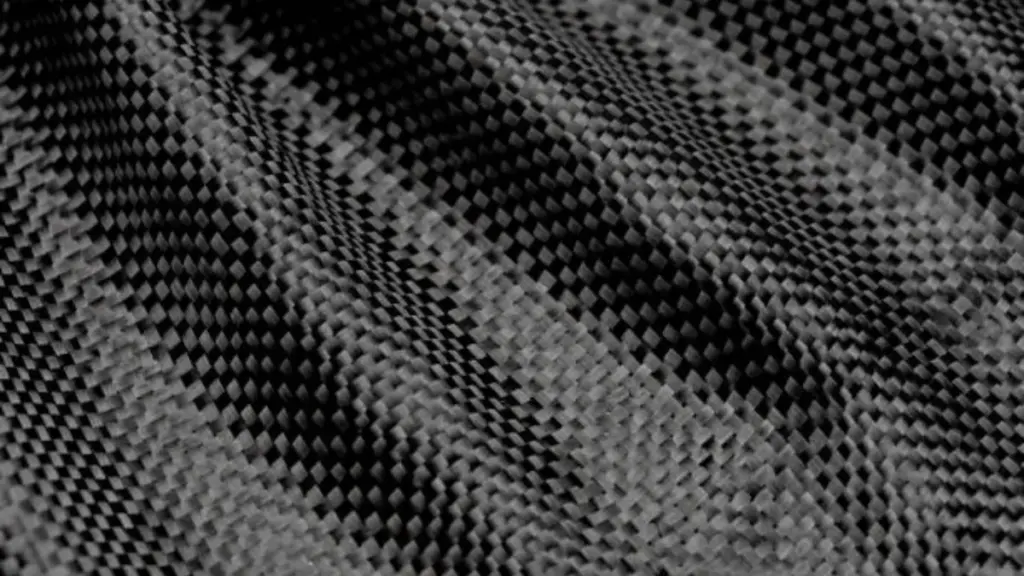
- Carbon Fibers: This is the skeleton of the part. The woven fibers provide the core structural strength and reinforcement that make the material so strong and lightweight.
- Epoxy Resin: This acts as the binding matrix. It impregnates the fibers and hardens, locking them into a solid, rigid form. The final shape and integrity of the part depend on the resin.
- Clear Coat Finish: This is the final protective and aesthetic layer. It bonds directly to the cured resin, not the fibers, shielding the part from UV rays, moisture, and scratches.
Premium Material and Surface Finish Standards
Material selection and finishing processes are what separate premium parts from the rest. High-end manufacturers, like Shasha Carbon, prioritize the materials you can’t see just as much as the finish you can.
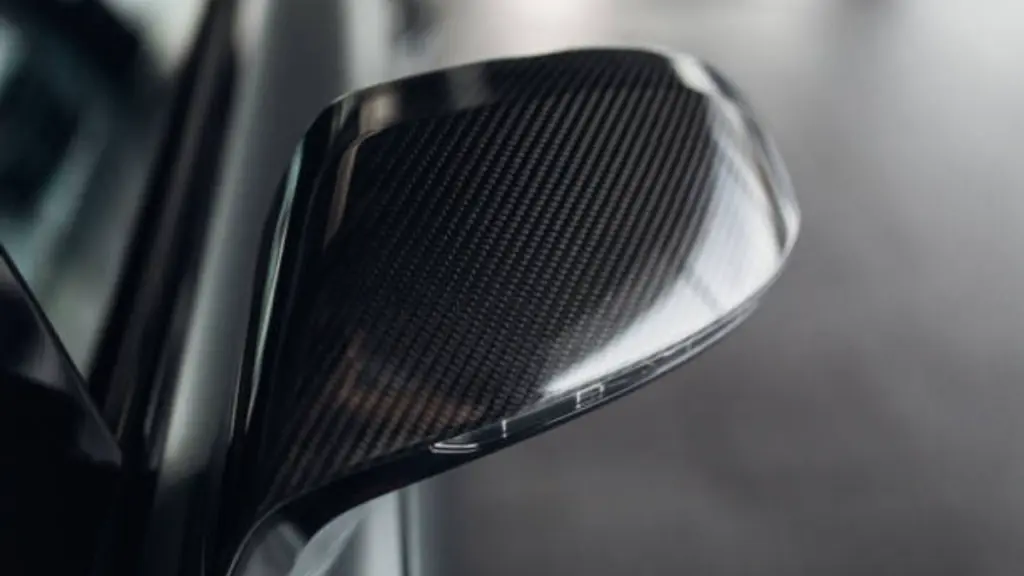
- Base Material: Premium parts often utilize imported Japanese Toray 3K Carbon Fiber. This material creates a superior 3D weave and a deeper texture that you won’t find in parts made with cheaper, domestic fibers.
- Surface Treatment: A high-gloss, UV-resistant clear coat is crucial to prevent the yellowing and oxidation that plagues lower-quality components over time.
- Application Process: Finishing completed in a constant-temperature, dust-free painting workshop guarantees a mirror-like surface without the bubbles or impurities common from standard shops.
Which Layers Can Be Safely Sanded
Only the top clear coat on a finished carbon fiber part can be safely sanded to fix minor surface flaws. Sanding into the resin or carbon weave damages the part.
The Clear Coat: The Only Safely Sandable Surface
A finished carbon fiber part has a transparent top layer called the clear coat. Its job is to protect the underlying carbon weave from UV rays, moisture, and light scratches. This is the only layer you can work on.
Light sanding is a standard procedure for correcting minor surface defects like fine scratches, swirls, or dust nibs in the finish. The goal is to level the surface just enough to prepare it for polishing or a fresh application of clear coat. You should never sand deep enough to reach the epoxy resin or the carbon weave itself. If the dust from sanding turns from white to gray or black, you’ve gone too far.
Why a High-Quality UV Finish is Critical
The quality of the clear coat directly impacts a part’s longevity and repairability. Premium parts, such as those from Shasha, are finished with a thick, High-Gloss UV-Resistant Clear Coat. This provides enough material to allow for light sanding and refinishing work without compromising the protection of the Japan Toray 3K Carbon Fiber weave underneath.
Flawless Fitment Dry Carbon, Guaranteed.

Step-by-Step: How to Sand Clear Coat on Carbon Fiber Safely
To safely sand carbon fiber, wet sand the clear coat with progressive grits. Monitor the residue: white or yellow is safe, but stop immediately if it turns grey or black.
| Step | Action and Technique | Critical Checkpoint |
|---|---|---|
| 1. Preparation | Assess the surface for deep cracks. Clean the entire part thoroughly with a quality wax and grease remover. | A perfectly clean surface is non-negotiable to prevent contaminants from embedding into the finish. |
| 2. Initial Wet Sanding | Begin wet sanding with 400 grit sandpaper. Use water mixed with a drop of detergent to lubricate the surface. | Residue must be a white or yellowish powder. This confirms you are safely within the clear coat layer. |
| 3. Final Sanding | Move to finer grits like 600 or 800 to create a smooth, uniform, satin-like finish ready for a new clear coat. | STOP IMMEDIATELY if the residue turns grey or black. You have reached the actual carbon fiber weave. |
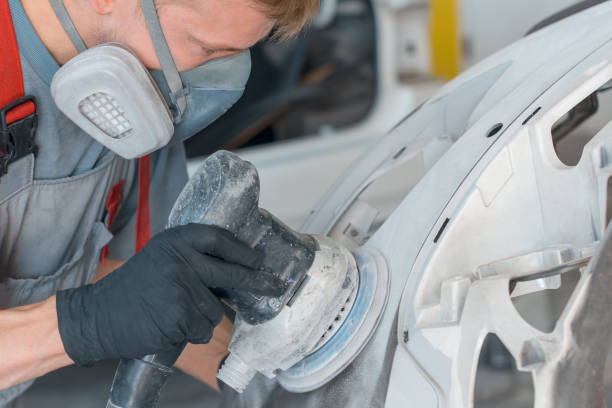
Wet Sanding vs Dry Sanding Carbon Fiber on Automotive Parts
Wet sanding carbon fiber is the go-to professional method. It uses water to manage dust, prevent heat damage to the resin, and ensure a superior high-gloss finish.
The main difference between the two methods is the use of water. Wet sanding uses water as a lubricant. This traps fine carbon and resin dust, preventing it from becoming airborne. The dust forms a slurry on the surface instead of clogging the sandpaper.
Water also keeps the part cool. Dry sanding generates significant friction and heat, which can easily soften the epoxy resin that binds the fibers. A compromised resin structure weakens the part. Wet sanding eliminates this risk. Furthermore, wet sanding results in much finer and cleaner sanding marks, creating the perfect foundation for a flawless clear coat.
When to Stop: The Dangers of Sanding Raw Carbon Fiber
While correcting the top clear coat is generally safe, you should never attempt to sand into the raw carbon fiber weave yourself. Exposing and grinding the actual fibers introduces severe health risks and toxic dust that make it completely unsafe for a typical home garage environment.
Significant Health Risks from Carbon Fiber Dust
Sanding raw carbon fiber releases microscopic, needle-like fibers into the air. These particles are incredibly dangerous if inhaled because they can physically cut and permanently bind to lung tissue. Unlike organic wood dust, the human body has no way to break these synthetic fibers down.
Furthermore, carbon fiber splinters pose an extreme contact risk; they do not dissolve under the skin and can potentially enter the bloodstream. Because of these hazards, a simple paper mask is entirely inadequate. Safe handling requires industrial-grade equipment, including a P100-filter respirator, full skin protection, and a professionally ventilated workspace, which most home shops lack.
How a Dust-Free Coating Process Eliminates the Need for Sanding
Often, the need to aggressively sand a part stems from trying to fix a poor factory finish. At Shasha Carbon, we eliminate this problem at the source. All our components receive their surface treatment inside a constant-temperature, dust-free painting workshop.
This controlled environment ensures the high-gloss, UV-resistant clear coat is applied perfectly, resulting in a mirror-like finish free of bubbles or impurities. A flawless factory finish means the part is ready for installation right out of the box, completely removing the need for any dangerous DIY sanding or surface correction.
How Professional Shops Repair or Refinish Carbon Fiber Parts

Pros use a multi-stage process with tools like autoclaves and CNC machines to restore a part’s structural integrity and its original factory finish.
The Multi-Stage Process for Structural and Cosmetic Restoration
A professional repair isn’t just a patch job; it’s a systematic process designed to restore the part’s original performance characteristics:
- Initial Damage Assessment: A thorough inspection to check for hidden structural issues like delaminations or micro-cracks.
- Surface Preparation: Technicians carefully sand and clean the damaged area, creating a properly keyed surface for new material to bond correctly.
- New Fiber Layup: New carbon fiber sheets are applied with fresh resin, precisely matching the orientation of the original weave.
- Controlled Curing: The repair is hardened under specific heat and pressure conditions to ensure a durable bond.
Advanced Techniques for a Factory-Quality Finish
The difference between a DIY fix and a professional restoration comes down to the equipment and techniques used:
- Autoclave and Vacuum Systems: Top-tier shops use vacuum bagging or full Autoclave Technology to apply uniform pressure, forcing out excess resin and eliminating weak air bubbles.
- CNC Cutting: For precision shaping, shops use CNC machines, guaranteeing a perfect 1:1 fitment.
- Professional Clear Coating: The final finish is applied in a dedicated, dust-free spray booth, resulting in a mirror-like surface.
How Shasha Quality Control Prevents the Need for Rework
The best way to handle surface defects is to prevent them from happening in the first place. Because our surface coating is exclusively performed inside a constant-temperature, dust-free spray booth, we eliminate common problems like bubbles or trapped dust.
To guarantee this flawless standard, Shasha Carbon implements a strict Two-Round QC System:
- Post-Painting Inspection: Immediately after a part leaves the painting workshop, technicians scan the clear coat under specialized lighting to catch any microscopic surface imperfections.
- 1:1 Fitment Verification: Before any part is packaged, it undergoes a final test against original car parts. This benchmark confirms a precise 1:1 fitment, catching any dimensional flaws that could affect installation.
A flawless factory finish backed by strict quality control means the part is ready for installation right out of the box—protecting both your reputation and your bottom line without any dangerous DIY sanding required.
Final Thoughts
While generic carbon parts offer a lower price, their thin finish makes any surface repair a high-risk gamble. A single deep scratch often means a total write-off. Investing in production standards like a thick UV clear coat applied in a dust-free workshop delivers a serviceable part that protects your reputation.
We recommend starting with a small trial order to test our 1:1 fitment and mirror-like finish firsthand. Contact us today to get our full product catalog or discuss your custom project needs.
Questions fréquemment posées
Can you sand carbon fiber parts?
Yes, absolutely! Just remember you’re only sanding the clear coat, never the actual weave. Grab some fine-grit sandpaper (400 to 800) and always wet-sand. It keeps things cool, controls dust, and guarantees a silky-smooth finish!
How do you know if a scratch is too deep to sand out?
Try the classic “fingernail test”! If your nail catches in the groove, that scratch is too deep for a quick polish. You’ll need a careful wet-sand and a fresh spray of 2K UV clear coat to bring it back.
Can I use an electric orbital sander on carbon fiber?
Put the power tools down! Electric sanders generate too much heat and strip material way too fast. You risk burning right through the clear coat and ruining the weave instantly. Stick to hand wet-sanding for ultimate control.
What happens if you sand through the clear coat into the carbon weave?
It’s bad news! Sanding into the raw fibers permanently ruins the part’s strength. It frays the weave, destroys the UV protection, and leaves the composite completely vulnerable to moisture damage and sun rot. Always stop at the clear coat!
How do you fix fading or yellowing carbon fiber?
Yellowing is just a degraded clear coat, not ruined carbon! To fix it, carefully wet-sand away that hazy old layer without hitting the weave. Then, apply a fresh, high-quality UV clear coat to restore that gorgeous glossy shine.